‘simply retro’ granny squares

chair2

I recently got back from my annual sewing retreat where I enjoyed some ‘me’ time with my patchwork buddies. As usual, we did nothing but eat, sleep and quilt – no kidding!  It was the best time ever!

It’s amazing what you can accomplish when you don’t have to stop to make meals, do the laundry, vacuum, dust, go to work and all that real life stuff. In a few short hours I managed to stitch together the blocks for an entire quilt top!

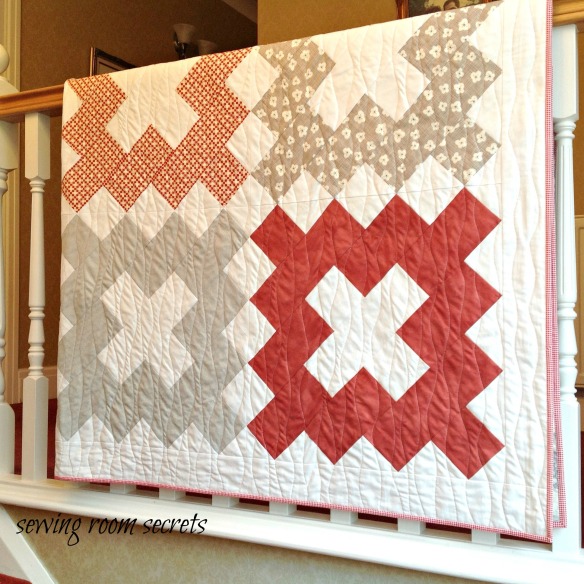
The pattern is from Camille Roskelley’s book ‘Simply Retro’. I fell in love with the classic, fresh, retro look of this quilt … a lovely modern take on the humble granny square. I love it! And the best part? It’s fat quarter friendly – you only need 12 fat quarters and a few metres of white to make the top!

banister3

The simple do-able style of the giant 20″ blocks meant that the quilt grew pretty quickly too – hey, I like that!

banister4

Now I’m not gonna lie, I’m not a big fan of machine quilting (I much prefer to hand quilt) but, let’s face it, hand quilting takes time and some days you just wanna get it done, right? So … I opted to have a go at ‘edge to edge’ quilting on the machine. I chose wavy lines rather than straight ones, hoping to add some movement to the quilt whilst at the same time keeping it modern.  What do you think? 

quilting collage

apples

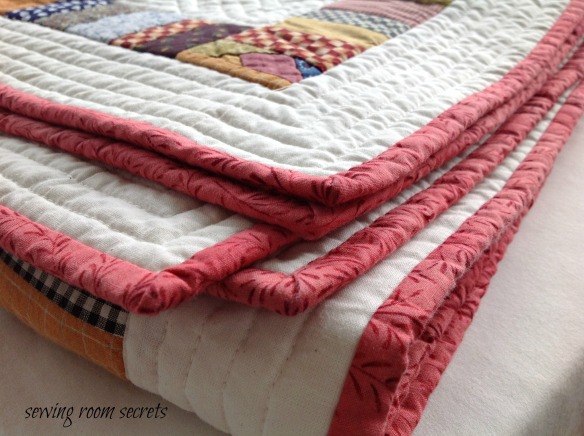
I finished it all off nice and neat with some cute red and white check 🙂

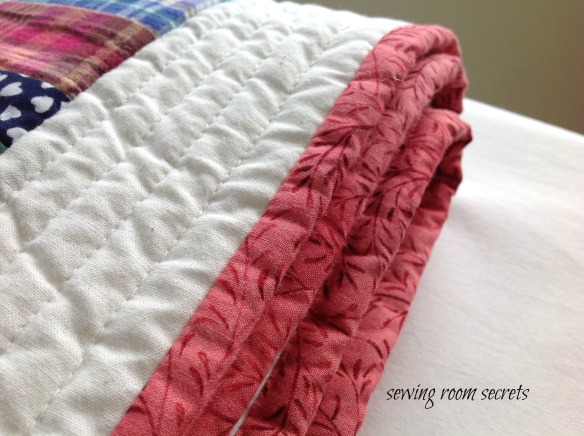
binding

on gate2

on gate

So there you have it … a quilt finished in just under 3 weeks (certainly beats 12 years!).

Phew! I’m off for a lie down …

♥♥♥♥♥♥♥

Happy stitching!

Natalie xx


that moment when …

… you finish a quilt and you can’t quite believe it’s actually done!

That very thing happened to me today.

I put the final stitch in a quilt that has been on the go for at least a dozen years. Yep, you read that right, 12 years! So long ago in fact that I can’t even remember how the blocks were constructed! How bad is that?! Mile a minute quilt 009

The funny part is, the technique for making the blocks was called ‘mile-a-minute’ … let’s think about that for a moment.  There are approximately 1,440 minutes in a day, 525,600 minutes in a year and it has taken me 12 years to complete the quilt , so by my reckoning this quilt should measure around 6,307,200 miles!! 🙂

Mile a minute quilt 002

Mile a minute quilt 007

In my defense, it is entirely hand quilted except for the final border which I stitched on the machine.

Mile a minute quilt 017

Mile a minute quilt 021

Mile a minute quilt 023

Mile a minute quilt 022

Mile a minute quilt 019

Mile a minute quilt 012

Mile a minute quilt 011

hand quilting

I learned a thing or two during the making of this quilt.

For instance, I have learned that my choice in fabrics has changed A LOT in the last 12 years, which isn’t that surprising really given the huge array of fresh modern fabrics around these days. I could spend all of my wages on fabric, seriously … if only I didn’t have to feed my family and pay the bills! Darn, there’s always a catch!

I also learned that ‘scrappy’ borders are stretchy little suckers and need careful handling otherwise your quilt WILL end up with somewhat wiggly edges.

I learned that if you leave a quilt-in-progress in a heap on the floor of your workroom, it is highly likely that your pet dog will use it to sleep on. The same pet dog may also piddle on it, causing you to have to dunk it in the bath tub (the quilt, not the dog).  And, because you used a water erasable marker … yep, you guessed it … all your quilt lines will disappear!

Ironically, if you then re-mark the quilt lines and store your unfinished quilt in a cupboard for years on end the marks won’t come out completely, no matter how many times you wash it (true story).

But you know, for all it’s imperfections, I have also learned to love this quilt.  It may not have my favourite colours in it; it may not be my favourite design and my stitching may not be as neat as I would like,  but we’ve spent quite a bit of time together already, this quilt and I,  and we have come to accept that neither one of us is perfect.

And I am OK with that.

Mile a minute quilt 001

Mile a minute quilt 038Happy stitching everyone!

Natalie xx


zakka inspired gift set

With Christmas just around the corner, I have been putting some thought into what little fabric gifts I can make for friends and family this year.

Every year, I make Christmas cookies for the girls at work and last year I made some wee fabric gift bags to put them in

Gift bag template can be found here

Gift bag template can be found here

This Christmas I want to give the girls a little something to go with the usual cookies and I have been wondering what it might be. Every time I think of an idea, I have been jotting it down on a yellow sticky note and pinning it to the notice board in my sewing room.

Sticky notes are great when you need to jot something down real quick; I use them all the time! And I certainly wouldn’t be without them at work (along with the humble highlighter pen!)

sticky notes

Which got me thinkin’! Wouldn’t it be nice to have something pretty to keep them in?

Dangerous thing, thinkin’ … cos now my sewing room is all messed up again!  There are fabric scraps everywhere, I’ve completely forgotten to leave anything out of the freezer for tea, the housework is untouched and I have no idea where the time has gone! But I don’t care … not really

… cos now I have a whole bunch of these wee cuties! 🙂
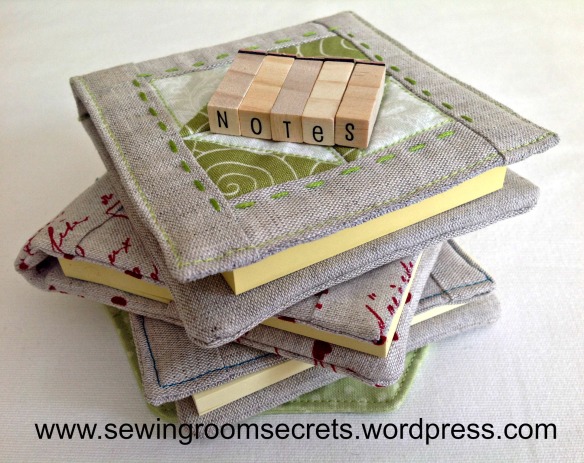
Pile notes on top

pile aqua on top

Aqua open with pencil

This little sticky note keeper fits two sizes of stickies – 7.5cm square and 9.5cm square

Open showing different sizes of stickies

And the really cool part is that they happen to go great with the little twisted hexagon coasters that I made a couple of weeks ago!

twisted hexagon coaster

I added in a little Sarubobo keyring and Bob’s your Uncle! … a cute little Zakka inspired gift set was born! Don’t you just love it when a plan comes together 🙂

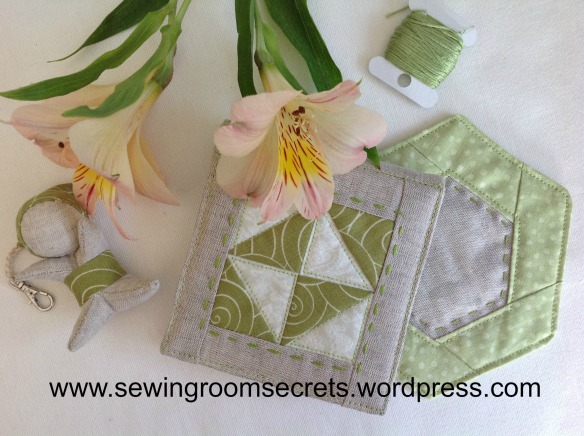
Green set with lily

Green set from above

Green side on

These little Zakka style gift sets will be perfect to accompany the Christmas cookies this year!  I just need to make another half a dozen sets and that’s Christmas 2013 all ‘sewn up’ … (pun intended folks 🙂 )

If you would like to make a sticky note keeper of your own, here’s how:

In the main fabric cut:

  • Four 5” x 1¼” strips (for the borders around the pinwheel centre)
  • Two 4½” x 5½” rectangles (for the back and the inside pocket)
  • One 4½” x 9½” rectangle (for the lining) 

You will also need:

  • Two 3” squares of fabric – one light, one dark – for the pinwheel
  • 5½” x 10½” piece of cotton wadding
  • One 3½” square and one 3¾” square of stiff card

Materials

First make the patchwork pinwheel …

*Use a ¼” seam throughout (unless otherwise stated)

Place the two 3” squares right sides together and sew a continuous ¼” seam all the way around the edge

sew all around the square

Cut the sewn squares in half diagonally.   Then cut again diagonally in the opposite direction
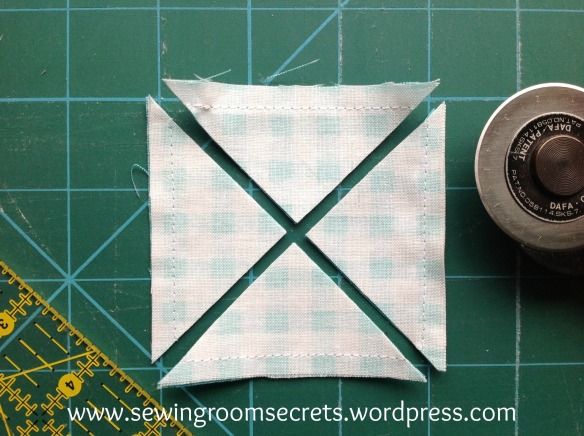
four trianglesPress the patches open towards the darker fabric

Press seams towards the dark fabric

Lay the four patches in the formation of a pinwheel.  It’s easy to mix the patches up and sew the wrong edges together, so I lay the pinwheel out right next to my machine and that keeps me on the right track 🙂
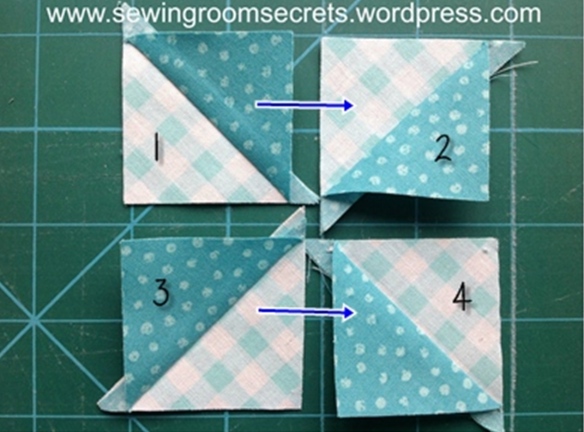
join four squares

Place patches 1 and 2 right sides together and sew together with 1/4″ seam. Join pieces 3 and 4 in the same way. Press the seams towards the dark side.

Join two halves of pinwheel

Now join section A and B with ¼” seam, making sure that  the centre seams are nested together

Press the seam open to reduce bulk

press the centre seam open

Trim the pinwheel – it should measure 3” square

Trim pinwheel

Stitch a 5” border strip to two opposite sides of the pinwheel patch and press the seams out towards the border

first two borders added

Trim the borders flush with the sides of the pinwheel patch

Trim first 2 borders

Stitch the other two border strips to the remaining sides of the pinwheel patch and press seams out towards the border

Pinwheel trimmed

You now have a framed pinwheel block – yay!

Stitch a 4½” x 5½” rectangle to the framed pinwheel block and press the seam away from the block.  Place the piece right side up on the wadding

Lay face up on wadding

Quilt the two layers together by stitching around the pinwheel square and inside the light coloured triangles, about ⅛” from the seam lines.  I did a mixture of hand stitching and machine stitching on mine and I also added a little bead to the centre.

Embellish pinwheel

Trim the wadding flush with the sides of your work

Trim Collage

Take another 4½” x 5½” rectangle and fold it in half, matching up the short sides. Press.  This will form a pocket on the inside.

press pocket

Lay the lining fabric on your work table right side up. Line up the raw edges of the folded pocket piece with the raw edges on one of the short sides of the lining fabric and pin in place

pin pocket to lining fabric

Next, lay the pinwheel panel right side down on top of the pocket panel, matching up all raw edges and pin. (The pinwheel should be at the opposite end to where you have pinned the pocket). Sew all the layers together, leaving the short edge nearest the pinwheel open

Join lining to front panel

Trim away some of the wadding to reduce bulk and clip the corners

Trim wadding

Turn right side out. *Tip – when turning things right side out,  I use a Phillips (star head) screw driver to push out the corners, as I find the little ‘star head’ helps to grip the fabric and is less likely to pierce it than a knitting needle or scissors would. Try it yourself and see what you think!

Insert a 3¾” square of stiff card through the opening and push it to the bottom. It’s a fairly snug fit, so you may have to give it a wiggle. *I used card that was 1/8″ thick for the first couple that I made, but then I used two thicknesses of cereal packet stuck together and that worked just fine.  I used a simple glue stick to stick the card together.

insert first card

Starting from the seam line of the pinwheel block, sew two lines of stitching ¾” apart.  These two lines create a sort of ‘spine’ and encase the cardboard at the same time

encase the first card

Place a 3½” square of stiff card into the opening up to the sewn line

Insert 2nd card

Last bit! Fold in the raw edges of the opening by about ¼” and pin

Close opening

Stitch the opening closed with a line of stitching very close to the edge. Continue to stitch all around the edge of the square very close to the edge, wiggling the cardboard out of the way as you go. I sewed along to the first corner and then, keeping the needle in the down position, I was able to wiggle the cardboard out of the way and pivot my work and sew to next corner and so on.

If you prefer not to sew a line all around the outside, you can just slip stitch the opening closed by hand.

sew close to the edge

finished

That’s it, you’re done!

All you need to do now is insert the back few pages of a sticky note pad into the little pocket and you have a pretty little home for your stickies (oh the simple things that please us eh?) 🙂
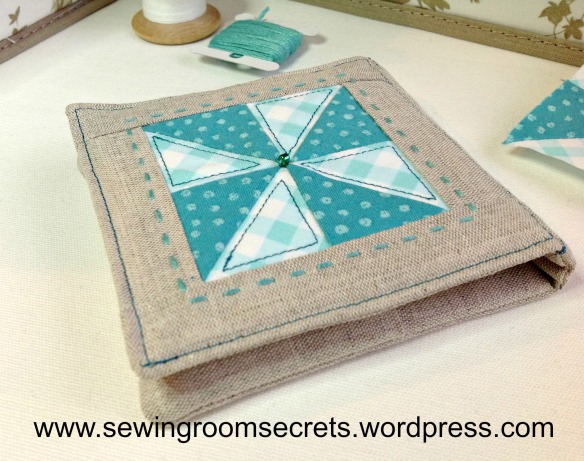
Aqua sticky note keep

You don’t have to have a pinwheel as your centre block.  Depending on how you sew your half triangle patches together, you will get a different pattern. For example, I put the patches together as a ‘broken dishes’ block in the centre of this one

red set with keys

… and this one

Pile green facing

Or you could perhaps keep the whole piece plain and embroider a little design on the front – I think some redwork on linen would look fab! A nine patch block would do the trick too – you do whatever takes your fancy.

I’m a wee bit fond of the little red set, so I might have to keep it for myself (maker’s perk an’ all:) )

red set with flower

red set from above

red set with pencil

red set open with pencil

I hope you have enjoyed this little project and feel inspired to make some of your own wee Zakka-style sitcky note keepers – if you do, I’d love to see some pics of your creations! 

Happy stitching and creating everyone

Natalie x

catching up …

… my recent holiday seems like a distant memory already and I have only been back a couple of weeks!

I had a wonderful time away, staying in a charming little cottage in Shropshire in the picture-postcard village of Ashford Carbonell.

Cottage

Grazer's Cottage

The trip was arranged as a way for Mum and I to spend some ‘girlie’ time together and we plan to make it a regular annual event. It was a lovely way to enjoy some good old mother/daughter bonding – we walked, we talked, we cooked (and ate too much!), we laughed and generally enjoyed each others company.

Shropshire is such a gorgeous part of England – unspoilt and uncrowded. Quaint little villages with a wealth of historical black and white buildings, charming tearooms, lots of quirky independent shops and stunning countryside.

One little tearoom we visited in Bridgnorth was a quilters dream!  Not only did they sell the most delicious home made cakes, but the whole place was adorned with stunning patchwork and quilted goodies.

Outside Number One

Inside 'Number one Tearoom'.

Lizard wallhangings

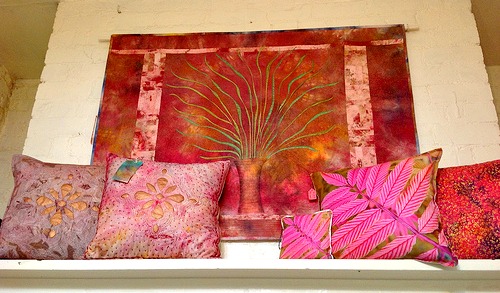
Wallhanging and cushions

Quilted hanging coneMaureen Shenton was the talented lady responsible for a lot of the quilted items in the shop and I had a lovely time chatting with her about her passion for quilting. Maureen also teaches workshops and offers a long arm quilting service.

There were lots of antique & vintage shops in the area and whilst browsing through one of them, I stumbled upon these two miniature brass keys.  I’m pretty sure that they aren’t actual antiques, but I snapped them up anyway, thinking that they will make really cute charms for home made gifts. Cute aren’t they?

Key charmsAnd, of course, no holiday would be complete without a visit to the local patchwork shop to pick up some ‘souvenirs’ 🙂

fabric findsI didn’t do any sewing whilst I was away but I have been getting back into the swing of things since getting back home.

Ever since I opened my Etsy Pattern Shop a few weeks ago, I have been very conscious of the fact that there were only two patterns listed in it (not much of a window display huh?), so I have been beavering away drafting some new ones to stock the shelves!

My ‘Crafty Creatures’ pattern is the newest addition to the shop.  Five fun little characters, filled with rice and each with their own personalised mini quilt! These little guys just love hanging around 🙂

Crafty CreaturesThere is Crafty Cat …

cat5

And Crafty Dog …

Crafty dawg

Crafty Sheep…

Sheep

And Crafty Frog …

frog

And poor old Crafty Pig thinks he’s a mug rug, bless him, … but you know what, as long as he’s happy an’ all, I’m just gonna let him be 🙂

Crafty Pig

I love having these little guys around, they just make me smile. Feels like I’m 8 years old again and living with Dr Dolittle!

I’ve also designed one more little ‘Harriet’ project in the form of a wee wallhanging with a simple patchwork border. This one shows the cheeky side to her character as you can see … perfect for a little girl’s room!

On white

And, whilst I had my scrap bag out, I found a neat little hexagon coaster tutorial over at Canoe Ridge Creations, so I ran up a set of them using some pretty scraps and linen. I am just adding a simple running stitch to the centres and tomorrow, I’ll wrap them up in tissue paper and tie them up all pretty with ribbon – a little ‘gift-ette’ for a friend I’m seeing this weekend 

twisted hexagon coasters

…and so, as the summer of 2013 draws to a close, I can feel a distinct autumnal nip in the air and I’m thinking maybe I will be needing the patchwork quilts out of the airing cupboard soon, to snuggle under when the nights draw in…

… autumn and winter have their up sides too 🙂

Happy stitching everyone!

Natalie x

little hexie needle caddy

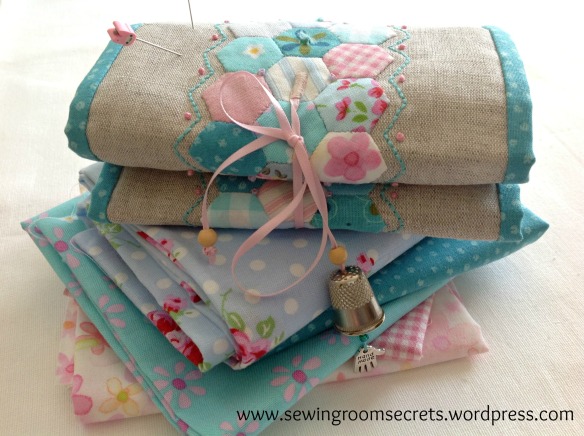
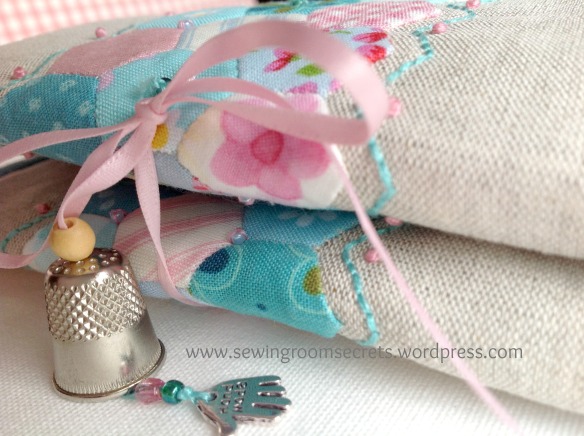
If you have been following my blog for the last however many weeks you will know that I have been afflicted with a bad case of ‘hexagon-itis’ and my wee pink tin of 1/2” hexies has been my constant companion.  I have really enjoyed re-acquainting myself with the simple pleasures of making hexagons (something I haven’t done since I was a child!) and I can at last reveal the final resting place for all those little six-sided cuties!

Needlebook on fabric pile

My wee pink sewing tin is empty – almost! Just a few lonely little hexies left languishing at the bottom for another day …

pink tin empty2

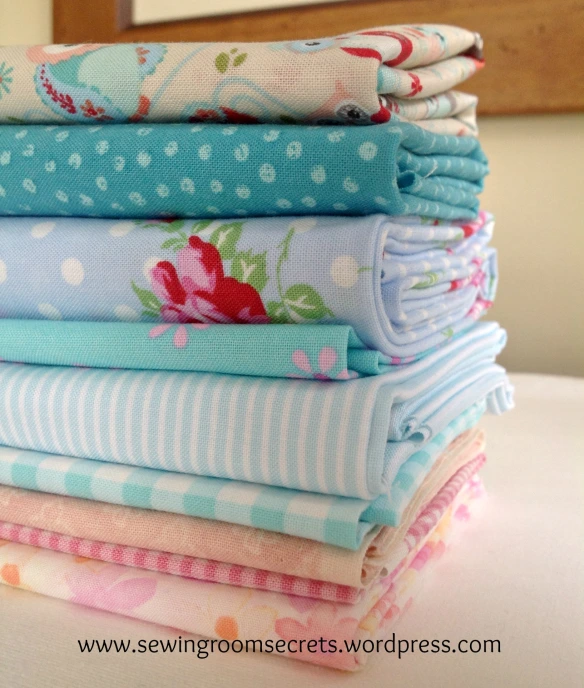
It has been a very interesting and rewarding mini-hexie-adventure, which began with a neat little pile of the prettiest fabrics …

fabric pile 2

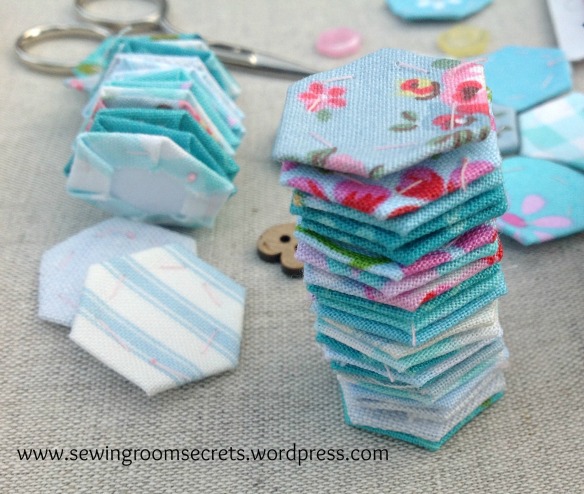
which turned into these …

Hexie tower2

Hexies before joining

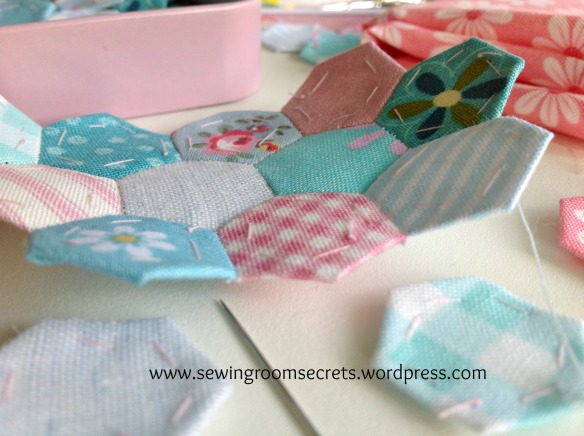
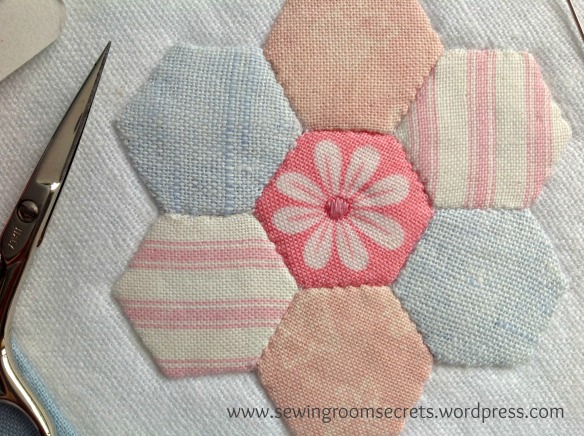
which were sewn together like this …

Hexies

which grew into this …

Hexy6

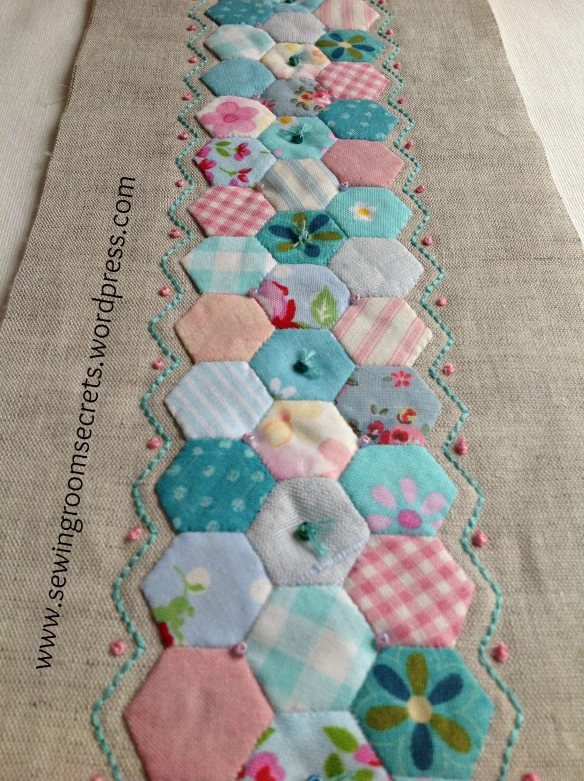
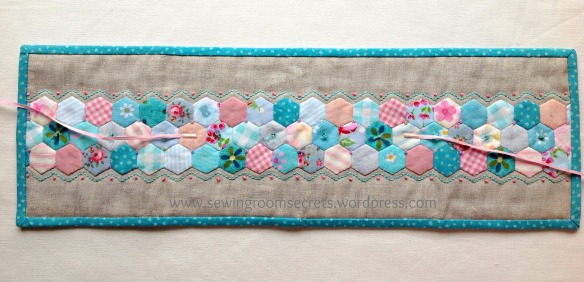
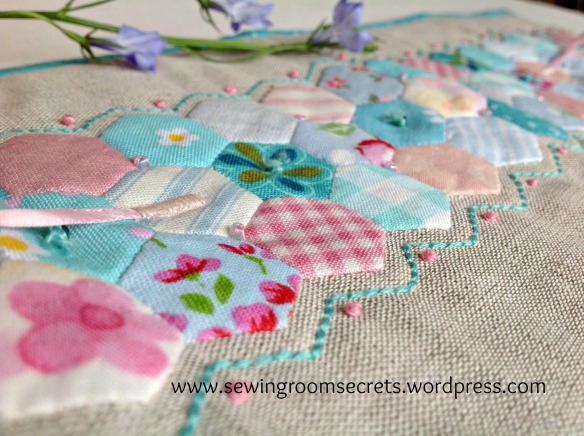
and was appliqued on to linen and embellished with pretty beads and the simplest of embroidery stitches …

Hexies long row with embroidery

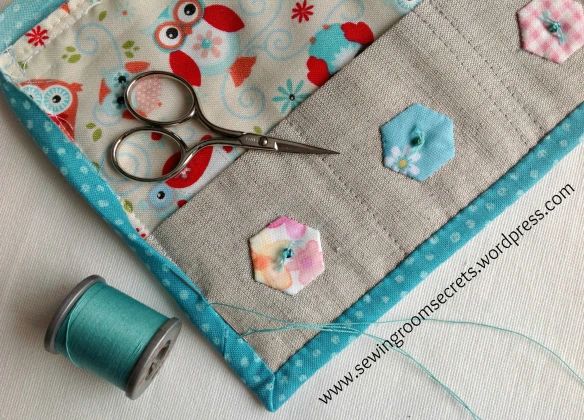
and framed all neat and tidy with some dotty aqua binding …

Needlebook binding

to create the perfect home for all my sewing needles 🙂

cover

fully open with needles

Needlebook Open with needles

slope down to the right with needles

When I started making all those wee hexagons I had no idea what I was going to do with them all.  I just liked the cuteness of them and the fact that they require no special tools to construct, just paper, fabric, needle and thread.  No special effort or concentration … a way to just sit, be still and stitch for the love of it.

Needlebook9

Needlebook51

Needlebook47

cover angle flowers

Needlebook10JPG

Needlebook37

It’s been interesting sharing my love affair with hexagons here on my blog and on my facebook page, as it has revealed to me that people are ‘hexagonating’ all over the world! And loving it! It seems we all have a certain fondness for the humble hexagon.

I have written up a pattern for my little needle caddy and it will be listed in my Etsy shop from midnight on Thursday 15th August 2013. I have loved working on this sweet little design and it has been made even more fun by having all of you hexie lovers along for the ride, keeping me company in all my little sewing endeavours, during what has been one of the most glorious British summers for many a long year! Thank you, and happy ‘hexagonating!’!

close up thimble

I am taking a little summer break from blogging and facebooking, but I will be back in September again :). Whilst I may be absent from cyberspace for a few weeks, I will still be ‘around’ stitching and  creating .

Until September then … happy stitching!

Natalie x

hexagons for harriet

….. my ‘hexagon-itis’ continues to worsen and I fear I may be well on my way to a diagnosis of hexie-mania!

I really have got it bad! I sneak them everywhere with me – my wee pink sewing tin fits discreetly in my handbag and I find myself whipping it out for a quick fix any opportunity I get …(please don’t judge me)

Hexies in a tin

tin & hexies2

I’ve even been ‘hexagon-ating’ in public … yep, in the dentist’s waiting room, at my desk in work, on a park bench, in the garden  …

Garden table

hexies close up3

Hexies on the grass

On the plus side, I find that each time I make a few of these six-sided cuties, it seems to ease the symptoms … if only a little 🙂

Hexy flower with scissors

The recent heatwave in the UK has made it difficult to do any serious sewing as it has just been too darn hot! However, the last couple of days have seen a drop in temperature, which has been a welcome relief and I have been able to work on the cushion I was making for my sewing chair, using my ‘Harriet & her Teddy’ embroidery design (available in my Etsy shop).

Harriet before applique

Harriet side view

If you are not familiar with the English Paper Piecing method for making hexagons, there are oodles of great tutorials out there, so I won’t re-invent the wheel by doing another one here. For small hexagon paper piecing, I can recommend this tutorial from V and Co – it has lots of great close up photographs and easy to follow tips and advice. And for those of you who want to go to the next level and learn some imaginative and creative ways to use hexagons in your quilts, I would highly recommend a visit to Faeries & Fibres for lots of tips, tutorials and hexie inspiration.

Hexy flower side view

Hexy flower very close

Hexies close up

When joining one hexagon to another here are a couple of tips that work well for me:

  • I like to use a fine needle (size 10) so that I can easily catch the fabric as close to the edge as possible. This helps to make sure that your stitches don’t show up as much on the right side of your work.
  • I prefer to use ladder stitch rather than the more usual whip stitch for the same reason, that it helps to hide your stitches.

I also like to use a paperclip to hold the paper in place whilst tacking down the sides, but some people use freezer paper or even a glue stick to stabilize the paper template. 

hexie paper clip

I always think that a cushion looks so much more polished and professional when edged with some piping, don’t you? But I get put off at the thought of having to make all that bias binding and usually just end up doing the standard plain edge finish. But not this time…. 

cushion side on

Sewing is a continually evolving journey.  No matter how long you have been stitching, there is always a new technique to learn or a fresh way to look at something you thought you already knew.  I had come across tutorials in the past on how to make continuous bias binding, but had never tried it out for myself.  This technique is basically a way to eliminate the tedious task of having to join all those bias strips, end to end, to get the length you need. I used this tutorial by Sew Mama Sew to show me how and, oh my goodness! Why have I never done this before?  It’s pure magic! I don’t think I will ever make bias binding any other way!

Piping cord covered in continuous bias binding

Piping cord covered in continuous bias binding

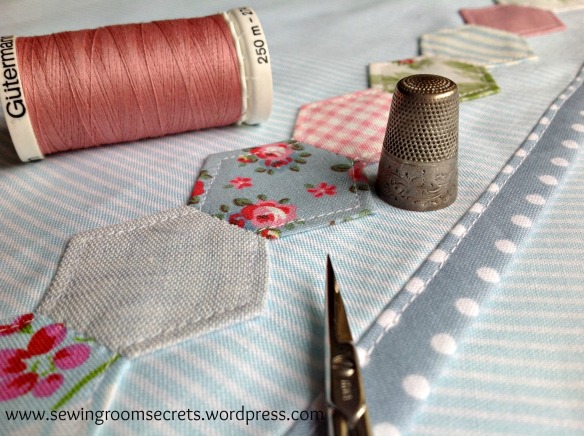
I machine appliqued a row of hexies to decorate the back

Hexy border

back border

Cushion back

And so, my little Harriet now adorns this cute little cushion on my sewing chair …

Cushion on sewing chairUp until now, Lola has been ‘my girl’, but I know that there is room enough in my heart for little Harriet too 

Happy stitching everyone!

Natalie x

a bad case of ‘hexagon-itis’

 ….. there has been a sudden outbreak of ‘hexagon-itis’ in our house. So far, I am the only member of the household affected. The only cure (apparently) is to ‘make stuff’ – I’m gonna make something cute-sy with this little lot and see if I can ease the symptoms …. I’ll keep you posted *cough* … 

1/2" hexies